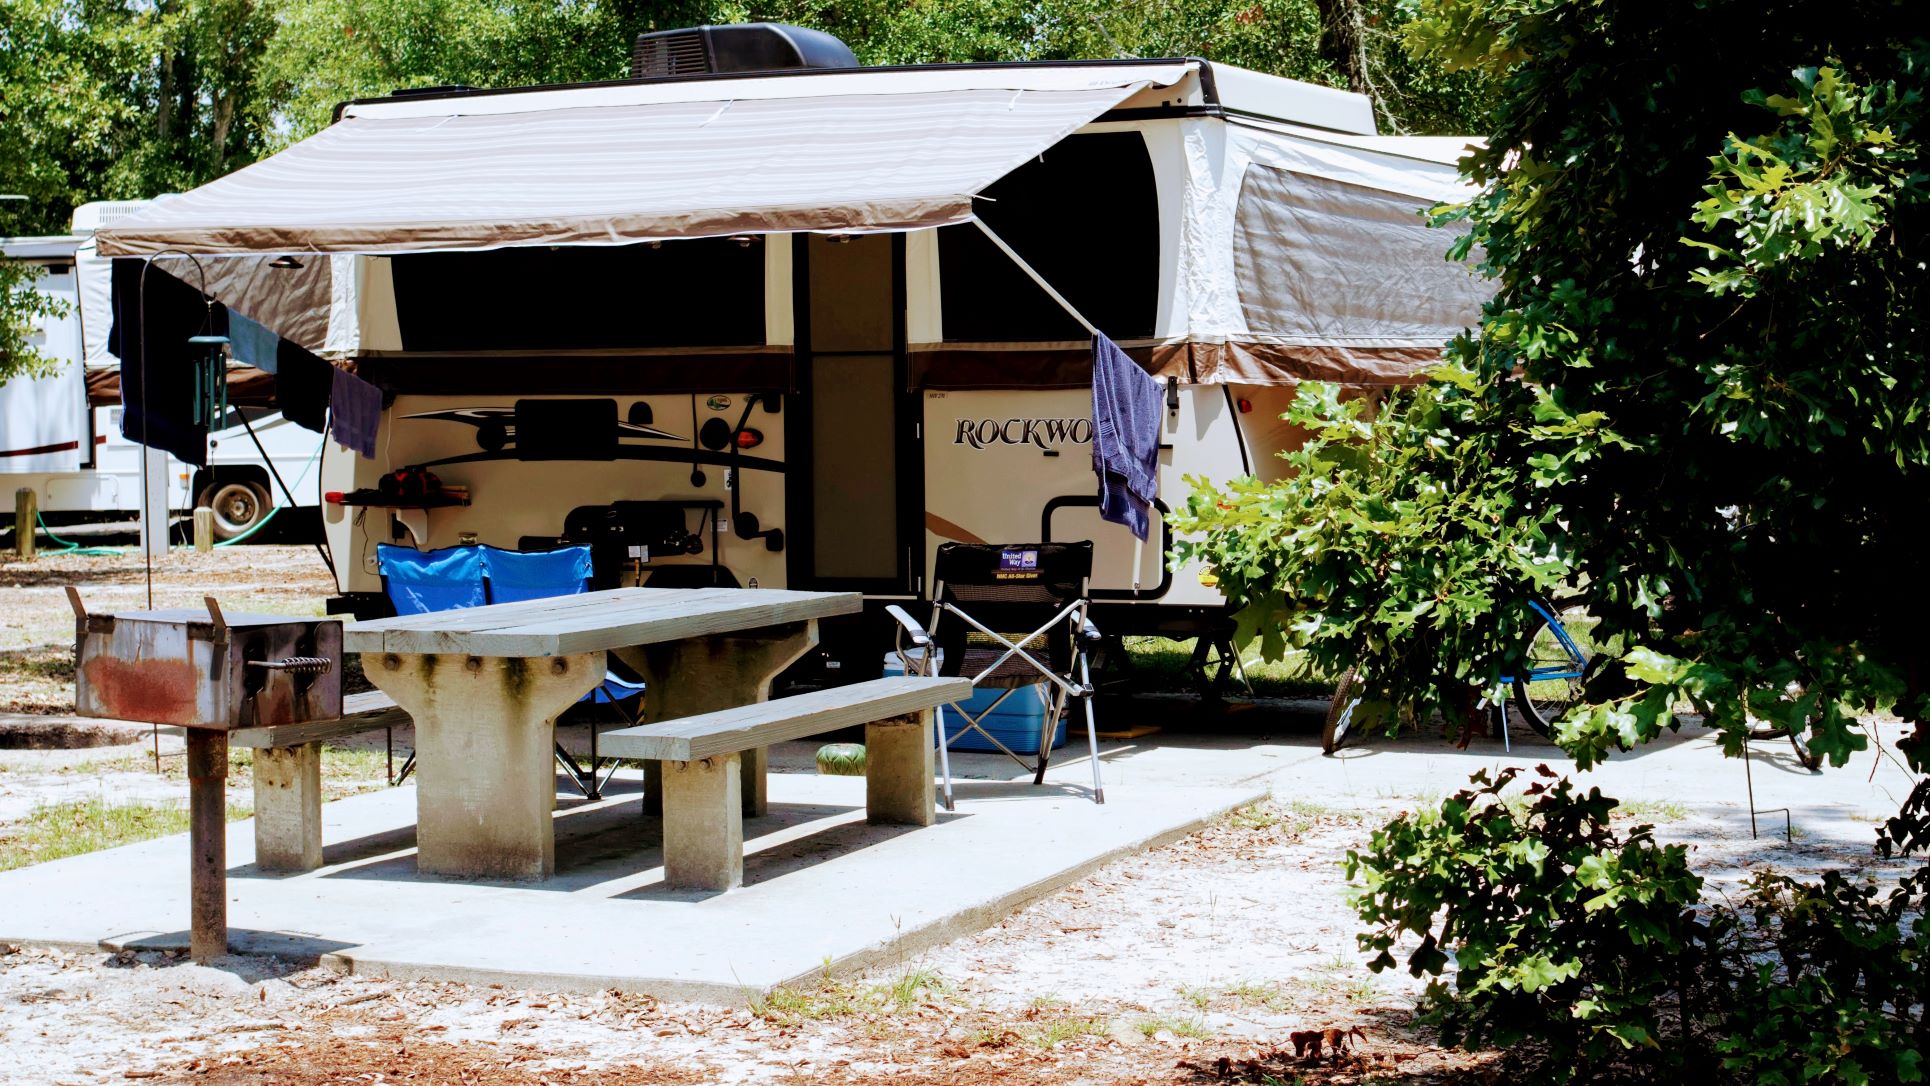
Can a Fan-tastic Vent Fan be Installed in a Pop-up Trailer?
 A pop-up trailer is a great way to enjoy camping outdoors without investing in a larger, more expensive RV. However, these trailers often lack great ventilation and allow heat from canvas sides on certain models. so installing a vent fan can be a great way to improve your camping experience. So, can you install a Fan-tastic vent fan in a pop-up trailer?
The answer is yes! Fan-tastic vent fans can be easily installed in pop-up trailers, and most DIYers can complete the installation in less than an hour. The fan is designed to fit into the existing ceiling vent and requires minimal drilling. The fan then runs off your trailer’s 12-volt power supply, providing you with consistent ventilation. Not every pop-up can support a fan so read the directions and call the manufacturer before installing.
What Are the Benefits of Installing a Fan-tastic Vent Fan?
Installing a Fan-tastic vent fan in your pop-up trailer offers several key benefits, such as:
- Improved air circulation: These fans will move some serious air. They help circulate the air throughout your trailer, providing fresh air and reducing the buildup of odors and humidity.
- Reduced condensation: The fan helps reduce moisture buildup, which helps to prevent mold and mildew.
- Reduced heat buildup: Installing a vent fan helps reduce heat buildup in the summer months, making your trailer more comfortable.
Tool list needed to install a Fan-tastic Vent Fan?
You will need to have the following tools on hand to install a Fan-tastic vent fan in your pop-up trailer:
- Drill
- 1/8” and 1/4” drill bits
- Philips screwdriver
- Wire stripper
- Wire nuts
- Electrical tape
- Ratchet set
Blow Your Mind: A Step-by-Step Guide to Installing a Fan-tastic Vent Fan
Installing a Fan-tastic vent fan is straightforward and should take less than an hour. The exact installation instructions vary depending on your fan’s model, so be sure to refer to the included instructions for complete directions. Generally, the installation involves the following steps:
- Remove the existing ceiling vent and unscrew the mounting screws from the fan base.
- Drill four holes into the roof using the template and the appropriate size drill bits.
- Secure the fan base to the roof using the provided screws.
- Connect the wiring harness to the included power supply and secure it with wire nuts.
- Test the fan to ensure it is working properly
- Reinstall the ceiling vent and enjoy your newly installed Fan-tastic vent fan!
Safety Considerations
Before installing a Fan-tastic vent fan in your pop-up trailer, it’s essential to understand basic electrical safety rules and precautions. If you are unfamiliar with electrical wiring, it is best to hire a professional to complete the installation. For more information about electrical safety and installation instructions for your specific fan, visit the official Fan-tastic website.