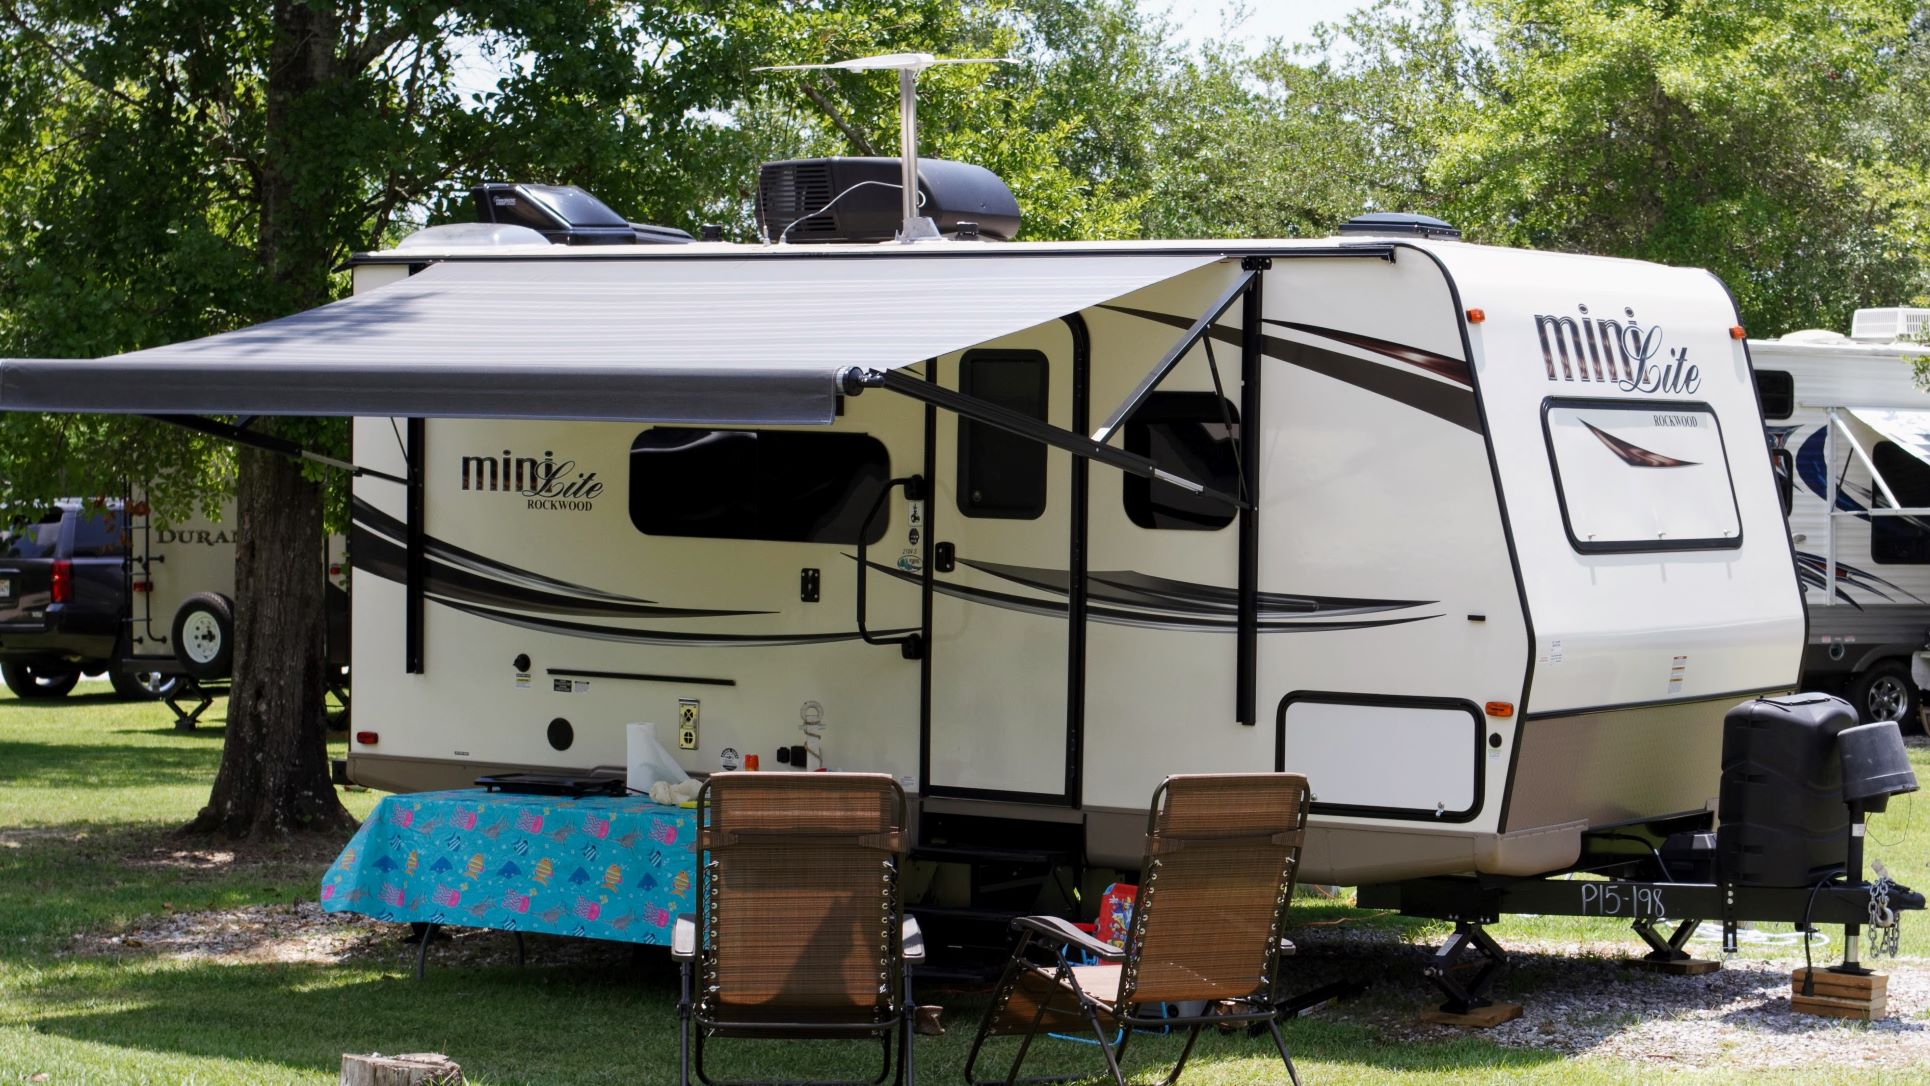
RV Exterior
RV Exterior Troubleshooting

Living in a Recreational Vehicle (RV) can be an enjoyable and cost-effective way to travel. However, if you’re not familiar with the different components of the exterior of your RV and how to troubleshoot any issues that may arise, it can quickly become a stressful and costly experience. This guide will provide you with some tips and tricks for troubleshooting common exterior issues with your RV.
Common Exterior Components of an RV
- Roof: The roof of your RV is the most important exterior component. It protects the interior from the elements and should be regularly inspected for any signs of damage or wear and tear.
- Windows: The windows on your RV provide ventilation, light and a view to the outside. They should be kept clean so they can function properly.
- Doors: The doors on your RV help keep out the elements while still allowing you to get in and out easily.
- Awnings: Awnings help provide shade and protection from the sun and rain while you’re outside your RV.
- Ventilation: Proper ventilation is important for maintaining a comfortable temperature inside your RV.
- Water System: RVs have built-in water tanks to store water for use inside the vehicle.
- Electrical System: An electrical system powers all the appliances and devices inside your RV, so it’s important to make sure it’s functioning properly.
- Exterior Lights: Exterior lights on your RV help you see at night, but they can also be used to signal for help if needed.
Troubleshooting Exterior Issues
When troubleshooting exterior issues with your RV, it’s important to start by identifying the problem before attempting any repairs or maintenance. Here are some steps you can take to help diagnose the issue:
- Check all exterior components such as the roof, windows, doors, awnings, ventilation, water system, electrical system, and exterior lights for any visible signs of damage or wear and tear.
- Look for any loose connections or broken wires that may need to be reattached or replaced.
- Test all exterior components such as lights, windows, doors, and awnings to ensure they are functioning properly.
- Inspect all seals around windows, doors, and other openings for any cracks or leaks that need to be addressed.
- Make sure all vents are open and free of obstructions that could impede airflow or cause overheating in the vehicle.
- Clean all exterior surfaces such as windows, doors, awnings, etc., to remove dirt and debris that could cause water damage or mold growth inside the vehicle.
- Inspect all hoses connected to the water system for any signs of leaks or clogs that need to be addressed.
- If there are any visible signs of damage or wear and tear, contact a professional to assess the situation before attempting any repairs yourself so you can ensure everything is done correctly and safely.
By following these steps you should be able to identify any potential issues with your RV’s exterior components before they become more serious problems down the line. If you think something may be wrong but aren’t sure what it is, don’t hesitate to contact a professional who can provide you with more guidance and advice on how best to proceed with repairs or maintenance on your RV’s exterior components.